- -52%
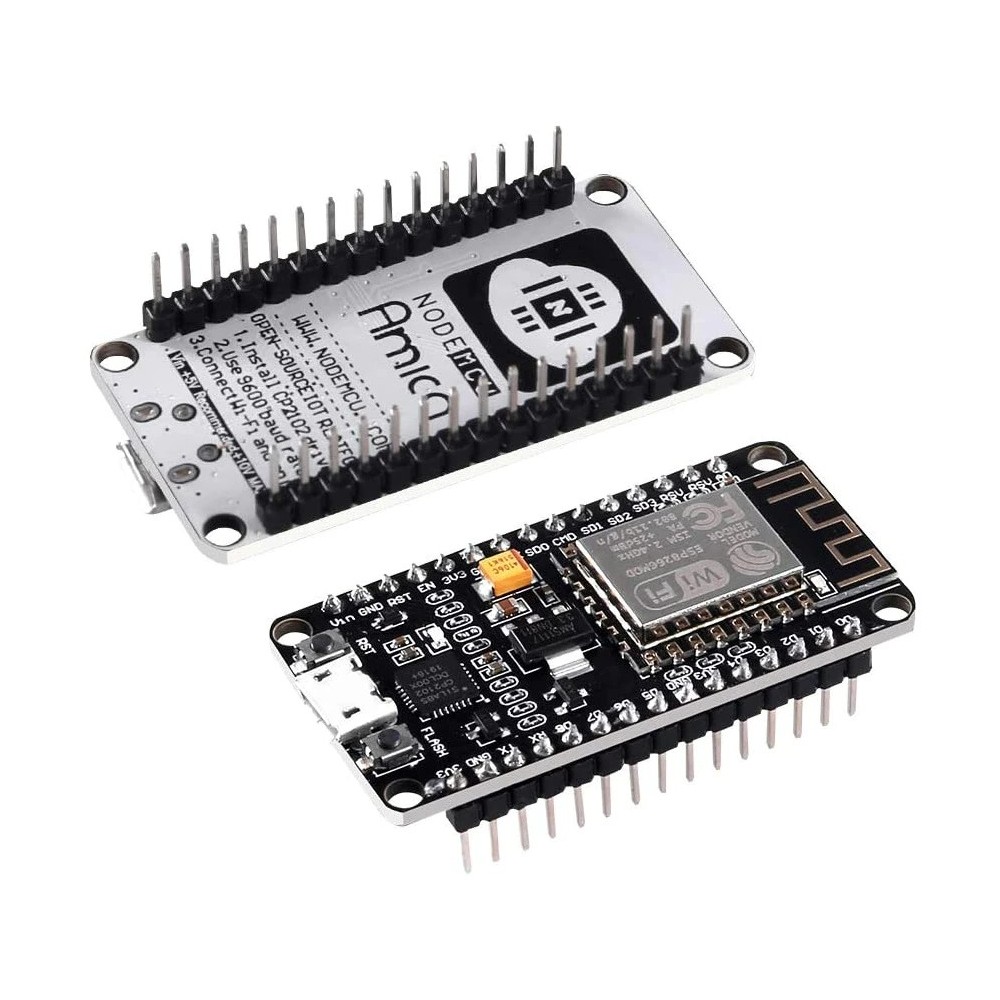

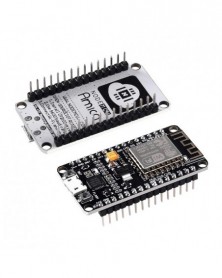
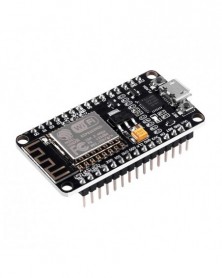
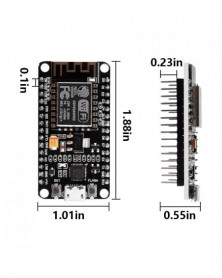
ESP8266 NodeMCU CP2102 ESP-12E WiFi Internet Fejlesztőkártya Nyílt forráskódú soros vezeték nélküli modul Arduino IDE
ESP8266 NodeMCU CP2102 ESP-12E WiFi Internet Fejlesztőkártya Nyílt forráskódú soros vezeték nélküli modul Arduino IDE
317 Ft
52% megtakarítás
660 Ft
Nincs adó
Why ESP8266:
ESP8266 is a highly integrated chip designed for the needs of a new connected world. It offers a complete and self-contained Wi-Fi networking solution, allowing it to either host the application or to offload all Wi-Fi networking functions from another application processor.
Instruction & Steps of How to use:
1. Download the for Arduino IDE, Firmware link: http://github.com/nodemcu/nodemcu-firmware;
The Data download access to the website: http://www.nodemcu.com;
Test Video:http://www.youtube.com/watch?v=Gh_pgqjfeQc.
2. Install the IDE.
3. Set up your for Arduino IDE as: Go to File->Preferences and copy the URL below to get the ESP board manager extensions:
http://arduino.esp8266.com/stable/package_esp8266com_index.json
Placing the "http://" before the URL and let the Arduino IDE use it...otherwise it gives you a protocol error.
4. Go to Tools > Board > Board Manager> Type "esp8266" and download the Community esp8266 and install.
5. Set up your chip:
Tools -> Board -> NodeMCU 1.0 (ESP-12E Module)
Tools -> Flash Size -> 4M (3M SPIFFS)
Tools -> CPU Frequency -> 80 Mhz
Tools -> Upload Speed -> 921600
Tools-->Port--> (whatever it is)
6. Download and run the 32 bit flasher exe at Github(Search for nodemcu/nodemcu-flasher/tree/master/ at Github) github.com/nodemcu/nodemcu-flasher/tree/master/Win32/Release Or download and run the 64 bit flasher exe at: github.com/nodemcu/nodemcu-flasher/tree/master/Win64/Release
7. In Arduino IDE, look for the old fashioned Blink program. Load, compile and upload.
8. Go to FILE> EXAMPLES> ESP8266> BLINK, it will start blinking.
Package including:
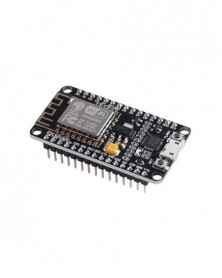
1 * ESP8266 ESP -12F NodeMcu Development Board
ESP8266 is a highly integrated chip designed for the needs of a new connected world. It offers a complete and self-contained Wi-Fi networking solution, allowing it to either host the application or to offload all Wi-Fi networking functions from another application processor.
Instruction & Steps of How to use:
1. Download the for Arduino IDE, Firmware link: http://github.com/nodemcu/nodemcu-firmware;
The Data download access to the website: http://www.nodemcu.com;
Test Video:http://www.youtube.com/watch?v=Gh_pgqjfeQc.
2. Install the IDE.
3. Set up your for Arduino IDE as: Go to File->Preferences and copy the URL below to get the ESP board manager extensions:
http://arduino.esp8266.com/stable/package_esp8266com_index.json
Placing the "http://" before the URL and let the Arduino IDE use it...otherwise it gives you a protocol error.
4. Go to Tools > Board > Board Manager> Type "esp8266" and download the Community esp8266 and install.
5. Set up your chip:
Tools -> Board -> NodeMCU 1.0 (ESP-12E Module)
Tools -> Flash Size -> 4M (3M SPIFFS)
Tools -> CPU Frequency -> 80 Mhz
Tools -> Upload Speed -> 921600
Tools-->Port--> (whatever it is)
6. Download and run the 32 bit flasher exe at Github(Search for nodemcu/nodemcu-flasher/tree/master/ at Github) github.com/nodemcu/nodemcu-flasher/tree/master/Win32/Release Or download and run the 64 bit flasher exe at: github.com/nodemcu/nodemcu-flasher/tree/master/Win64/Release
7. In Arduino IDE, look for the old fashioned Blink program. Load, compile and upload.
8. Go to FILE> EXAMPLES> ESP8266> BLINK, it will start blinking.
Package including:
1 * ESP8266 ESP -12F NodeMcu Development Board

Szállításii feltételek

Biztonsági feltételek

Visszaküldési feltételek