- -52%


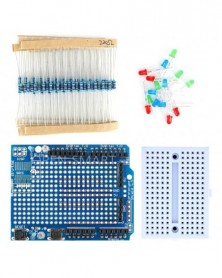
Diy elektronikus készlet LED giroszkóp barkács hegesztőkészlet forgó lámpás beépített alkatrészek Diy elektronikus
Diy elektronikus készlet LED giroszkóp barkács hegesztőkészlet forgó lámpás beépített alkatrészek Diy elektronikus
156 Ft
52% megtakarítás
326 Ft
Nincs adó
Component list
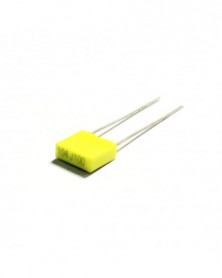
Ceramic capacitor 0.1uf (104) 2pcs: C1, C2
1/8W resistor 1K 4pcs: R1, R2, R5, R6
1/8W resistor 1M 2pcs: R3, R4
NPN transistor 9013 2pcs: Q1, Q2
Battery holder CR2032 2PCS: BT1, BT2
Screw M2*10 1pcs
Knurled copper pillar M3*4 1pcs
Knurled copper pillar M*24 1pcs
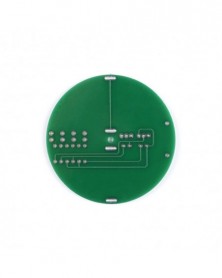
PCB diameter 52mm
Features
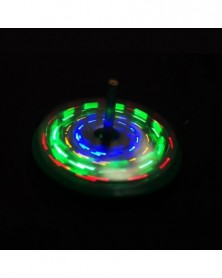
1.The circuit consists of a triode multivibrator driving two groups of LEDs to flash alternately. When the LED gyro is rotated, the vibration switch is turned on and the circuit works. Due to the phenomenon of visual retention, the pattern is left.
2.The working principle of the circuit: when the battery is installed, the vibration switch S1 is turned off. When the gyro is rotated, due to the centrifugal effect, the vibration switch S1 is turned on and the circuit works.
3.The working principle of the multivibrator is that when the power is turned on, the transistors Q1 and Q2 should be turned on first. Due to the difference of components, only one is turned on first, and then the two transistors in the circuit are turned on and off in turn, and the cycle Glow, so there will be multiple dashed patterns.
4.It can not only develop skills for welding learning, but also complete a funning LED flashing light toy to bring fun to life.
5.Required tools: electric iron: 30W, solder wire: 0.8mm, tweezers, oblique pliers, multimeter.
Ceramic capacitor 0.1uf (104) 2pcs: C1, C2
1/8W resistor 1K 4pcs: R1, R2, R5, R6
1/8W resistor 1M 2pcs: R3, R4
NPN transistor 9013 2pcs: Q1, Q2
Battery holder CR2032 2PCS: BT1, BT2
Screw M2*10 1pcs
Knurled copper pillar M3*4 1pcs
Knurled copper pillar M*24 1pcs
PCB diameter 52mm
Features
1.The circuit consists of a triode multivibrator driving two groups of LEDs to flash alternately. When the LED gyro is rotated, the vibration switch is turned on and the circuit works. Due to the phenomenon of visual retention, the pattern is left.
2.The working principle of the circuit: when the battery is installed, the vibration switch S1 is turned off. When the gyro is rotated, due to the centrifugal effect, the vibration switch S1 is turned on and the circuit works.
3.The working principle of the multivibrator is that when the power is turned on, the transistors Q1 and Q2 should be turned on first. Due to the difference of components, only one is turned on first, and then the two transistors in the circuit are turned on and off in turn, and the cycle Glow, so there will be multiple dashed patterns.
4.It can not only develop skills for welding learning, but also complete a funning LED flashing light toy to bring fun to life.
5.Required tools: electric iron: 30W, solder wire: 0.8mm, tweezers, oblique pliers, multimeter.

Szállításii feltételek

Biztonsági feltételek

Visszaküldési feltételek